 |
||
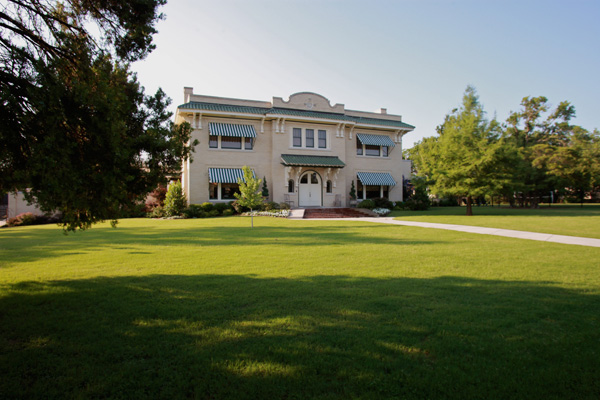
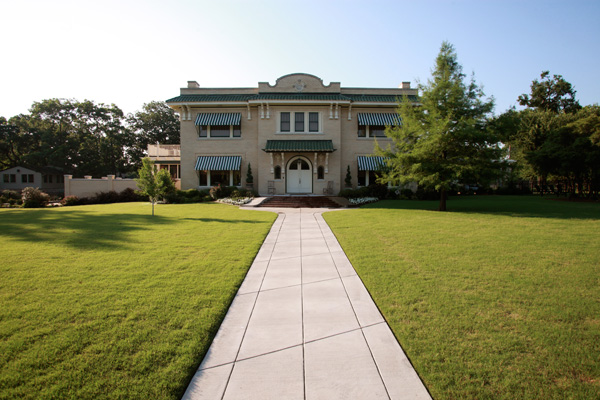
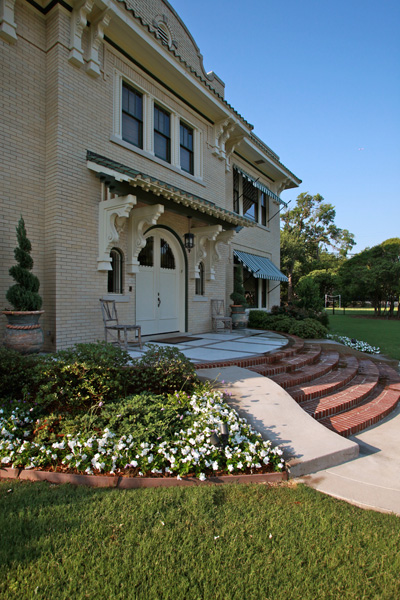
Water ConservationThe Parks Estate Restoration and Water Conservation
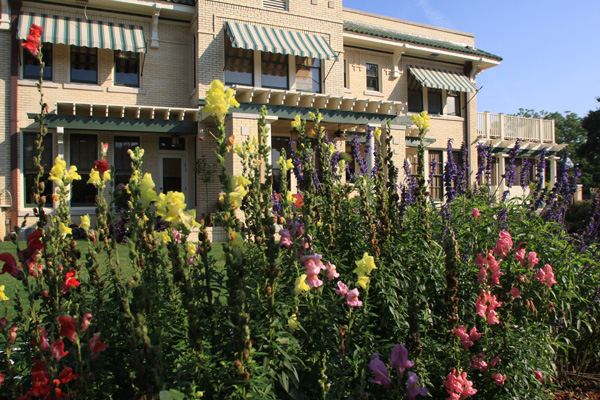
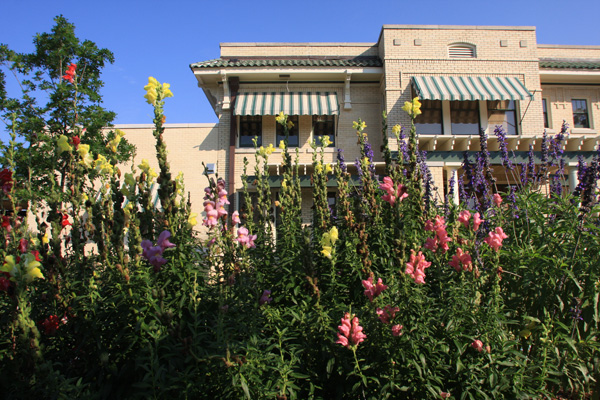
GOOGLE "The Parks Estate" + Dallas for a complete history. In the mid fifties the family donated the property to the YMCA. After 50 years it no longer met the Y's needs. Abandoned, it fell into serious disrepair. Enter Preservation Dallas. They acquired title and put the estate up for bids. One of my long time super satisfied customers was very interested. So, I was privileged to be on the team that would prepare their bid. Most things for auction go the highest bidder. Focus on PRESERVATION. The property would be awarded to the bidder who'd restore the property to its former grandeur and put it to the best use. I'm pleased to say that our landscaping plan played a big part in tipping the scale in my clients' favor. In particular, adhering to my philosophy - restore, reuse, recycle, we came up with solutions for two major 'problems' - a freestanding gymnasium and an Olympic size pool that had been installed by the YMCA.
I was put in charge of everything outside the house. At first I felt a bit overwhelmed. So I brought in some consultants expecting them to come up with all the answers. It didn't take long to figure out that the only question they could answer were "How can we make this more complicated?" and "How can we spend more of our clients' money?" So it was consultants out and common sense Ron in. One of the first tasks was to cap the pool and cover it over with several feet of fill. The homeowner was a bit concerned when he saw that the 'fill' included rocks, bricks and chucks of concrete. I explained that solid soil doesn't drain as well and over time will settle by about a third. A mixture of materials comes closer to simulating nature. Our next project was the koi pond. I brought in a specialist, Jim the Pond Man. I worked with him on a design that would take the maximum advantage of rain water. He wasn't sure at first, but I'll bet he'll use more rain water in the future. It normally takes about two weeks for the water in a new pond to stabilize - to reach the point where it's safe for fish. Our pond was creature friendly from day one. Within 24 hours we had little tadpoles and within a week we were able to stock it with koi. And, they must be happy. No fish has died and we've already had three batches of offspring. You might think that a pond would equate to mosquitoes. It is quite the opposite. It attracted dragon flies, birds and other insect eaters. There is a notable absence of mosquitoes. But, I had a hard time getting the rest of my work done because I was enjoying watching all the fish. Actually, I was dreading the next step - installing all the plants and turf during the fifth hottest June on record. I kept thinking, "All these plants are going to die and I'm going to look like a miserable fool." But, I hadn't taken the rain water into account. It made all the difference. Only one plant died - a desert willow that we planted too close to the pond where it was too moist. I admit that I took care to properly prepare the soil. And I worked hard to select healthy plants. I even drove to the sod farm to have the sod cut and loaded directly on my truck. It was all worth it. Build it and they will come. When Preservation Dallas held the grand reintroduction in late July several hundred people were there to appreciate the transformation. And, thousands and thousands of others will get to appreciate our work. HGTV showed up to film an episode of House Hunters to air next February. Man and nature can coexist and produce a landscape that will be exciting, enchanting and exhilarating. And that's exactly what I saw in my clients'. As every phase of the project was completed they were excited, enchanted and exhilarated. YES! Click images below to view the project 
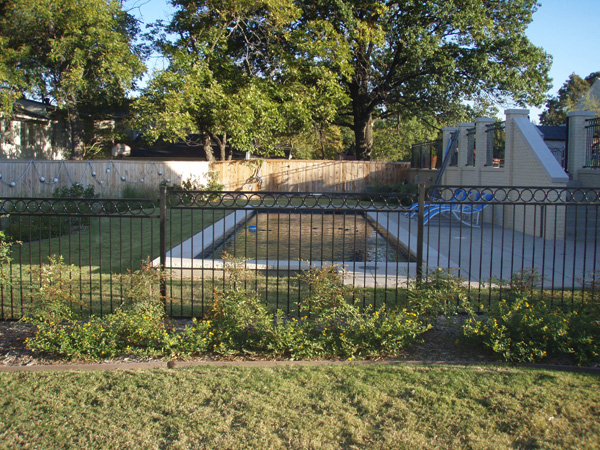
This pool has some history. It is located behind the Old Parks Estate, which was built on the highest point in Lakewood. Lakewood is an affluent part of east Dallas, so the property is quite large. At over 1.25 acres, it will require 7,000 to 10,000 gallons of water per irrigation cycle. The 75' x 27' pool was installed when the East Dallas YMCA purchased the Parks Estate and converted it to the Y. Originally we were supposed to demo it, add fill and landscape it.
The client had expressed an interest in having a 5,000 to 10,000 gallon above ground tank to water their vegetable-herb garden and also to keep the Koi pond full. We convinced them to enclose the deep end 27' x 27' x 8'.6" giving them 45,000 gallons of harvested water, which would off set the cost of the tank in 7 years, making it an appreciating asset. Note: look for the life guard chair as a point of reference in other images 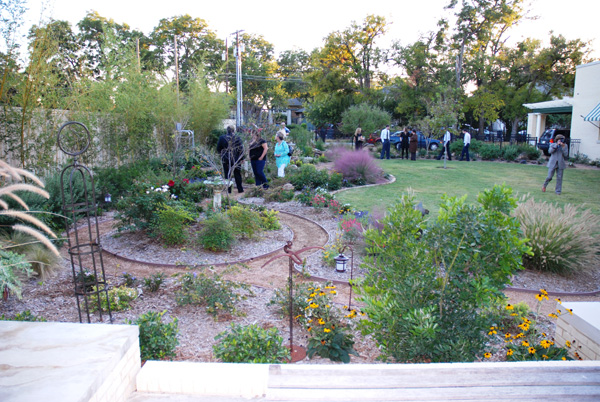
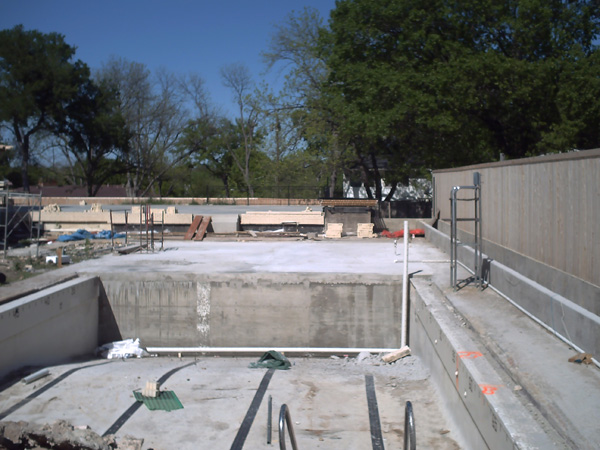
This is the same area pictured in image 1. As you can see, we did landscape it. By the time we got the engineered drawings for the lid, we had approximately 7 months to complete the project. The house had to be filmed on July 4th weekend for a future episode of "House Hunters" on HGTV. The home is of such historic value to east Dallas that it has been featured in several magazines and home tours.
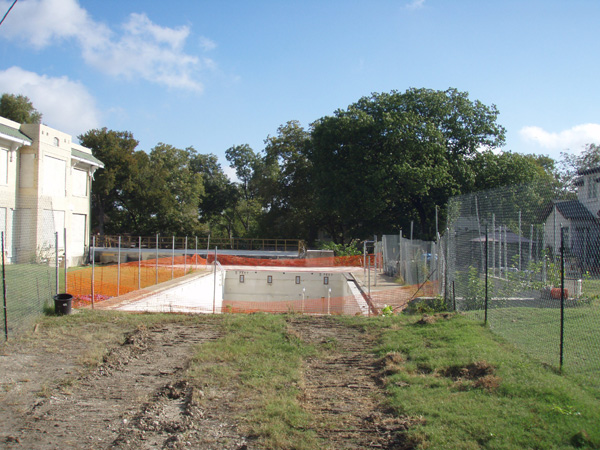
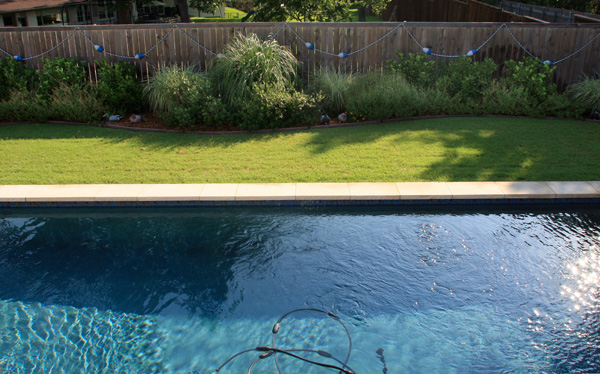
This is the look you get from the opposite end of the pool. The cement deck in the background was the foundation and basement of the two story gymnasium that was built when it was converted to the Y. This decking was also very instrumental in justifying the harvesting tank. With each 1" of rain we will capture over 3,000 gallons of water, just off the deck. You can also see the need for a retaining wall behind the life guard chair to contain the 2 foot of fill.

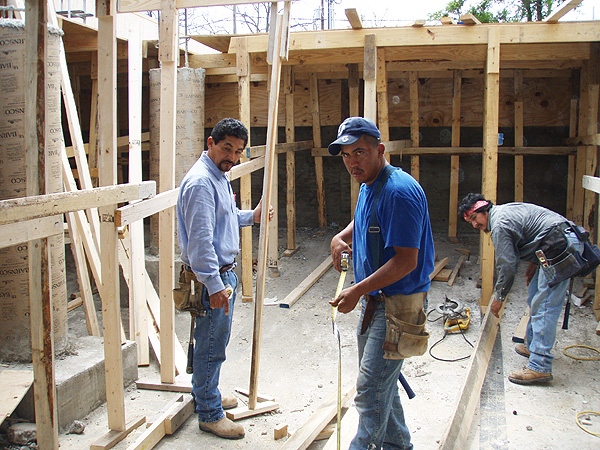
This shows the header wall being constructed and the forms for the lid. You can also see the retaining wall has been built and the the planter box used to contain the bamboo which will be used to screen the home behind them. Look behind the life guard chair and you can see the automatic refill line that is hooked to a float valve to keep 5,000 gallons of water in the tank when there is no rain.
This shows the interior view of the tank under construction. Notice the support columns needed to support the beams that will distribute the roof load and the pedestal bases needed to stop the columns from punching through the pool bottom. This had to be engineered to support 18" to 24" of our blended planting medium for the beds and leveling mix for the turf.

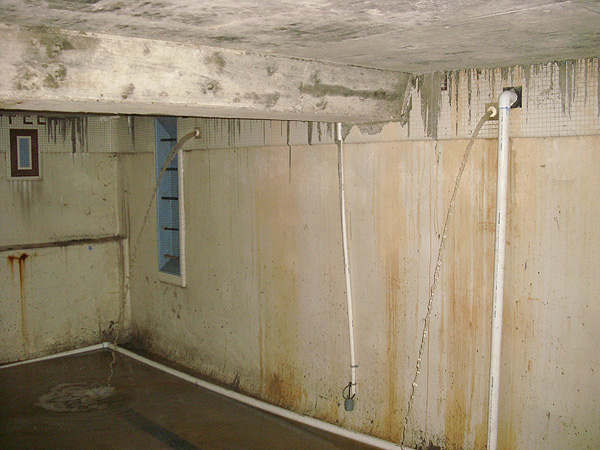
This shows the finished lid construction and application of the seal coating over the basement roof to stop water penetration into the old pump room, which now is used for the irrigation pump and as a 5,000 gallon over flow reservoir.
Here we are testing the fill lines during a rain, before sealing the hatch and covering with dirt. There are a total of 5 sump pumps used to fill the tank. There are two humidifiers in the basement to relieve the humidity and moisture that is in the air. We even ran drain lines from these to one of the sump pumps.
This shows the front view of the tank after completion. Notice the white 4" drain line at the base of tank wall. This will be surrounded by 2 feet of drainage rock in front of the tank wall allowing for the capture of all the water in the back yard as it percolates through the soil. This means we will be recycling the captured water.
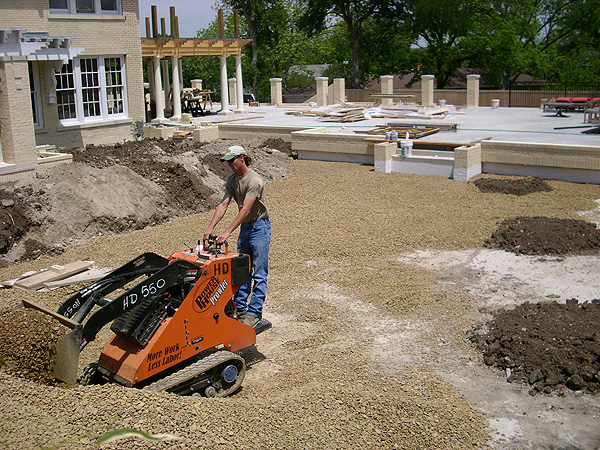
This shows the spreading of the drainage rock on the basement and water tank roofs. Also notice the staging of 3 round dirt piles where the ornamental trees will be planted and the staging of soil to the left. This soil will spread throughout the backyard to level it out.

This is the rear entry driveway that had to be excavated to allow for entry into the basement which would now become the garage. You will notice the trenching and pipe that was used to harvest the subsurface water from this area.
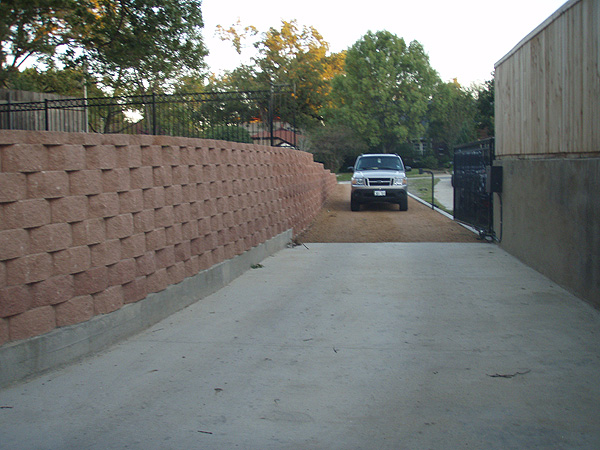
This is the finished driveway. You can see this is a very long and large driveway, over 2000 sq. feet. This driveway will produce 2,000 gallons of water with every 1" of rain. It would have been a shame not to capture this water. We had to put a grate drain in front of the garage door to capture this water and drain it to the north sump well.
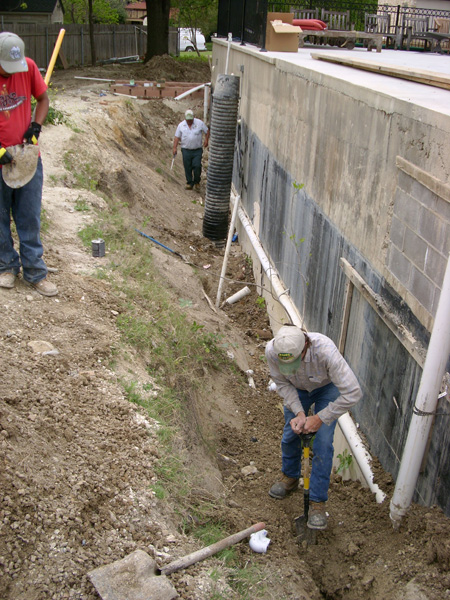
This shows the north sump well, where we drain all the water on the north side of the house to. There is also one on the south side of the house and 3 basement sump pumps. The water is collected in these locations then filtered and pumped to the harvesting tank. You also see us digging in the excavated area. This had to be done in order to install, replace or repair the drainage pipe that had to surround the perimeter of the basement. There is a very low water table and spring that produces 3 gallons of water a minute, over 4,000 gallons a day. This water either had to be captured our pumped away from the property. The client very wisely chose to capture it.
This is the finished shot of #12. As you can see by the pool and the driveway in the previous shots, there are several things that have to be thought about. By making the decision in the early planing stages of the project to harvest water, it allowed us to capture more water and locate the components in the most desirable routes.
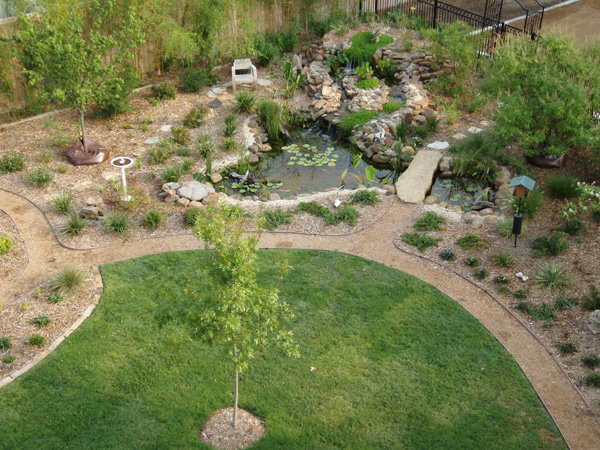
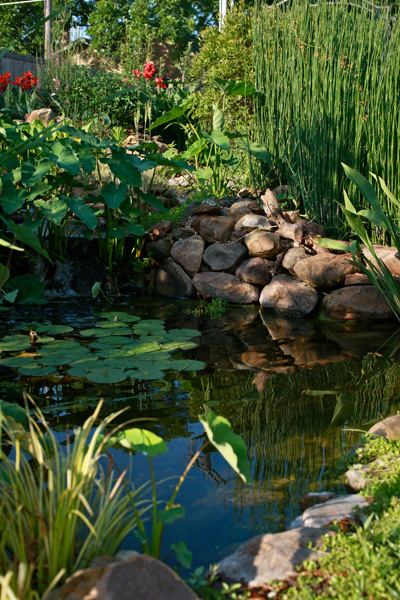
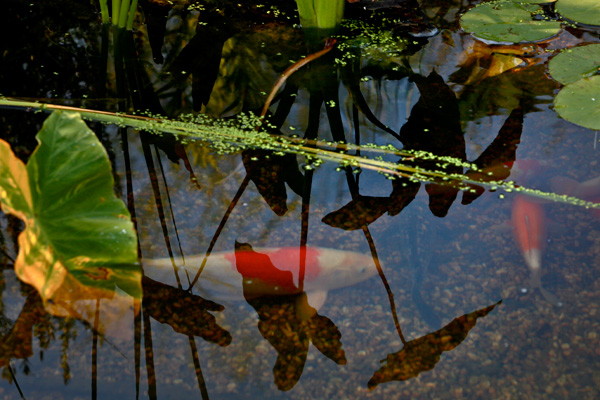
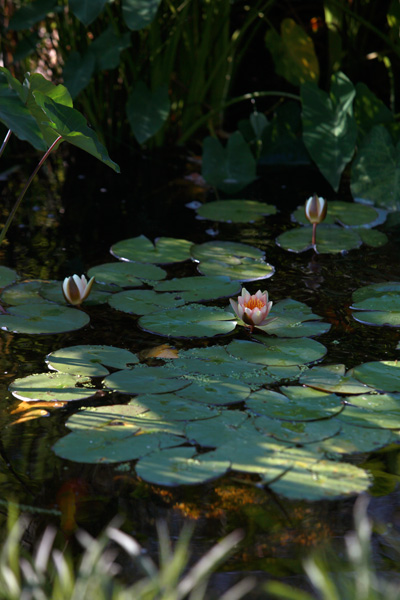
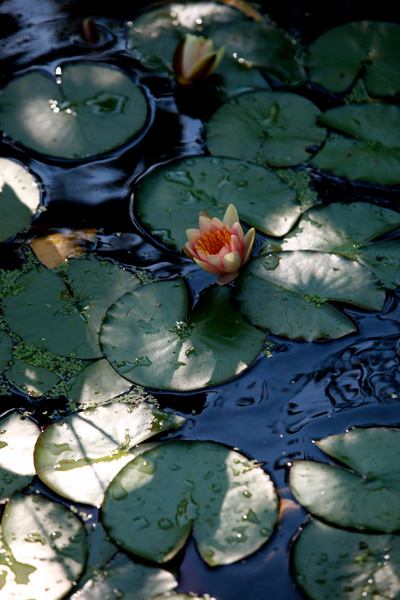
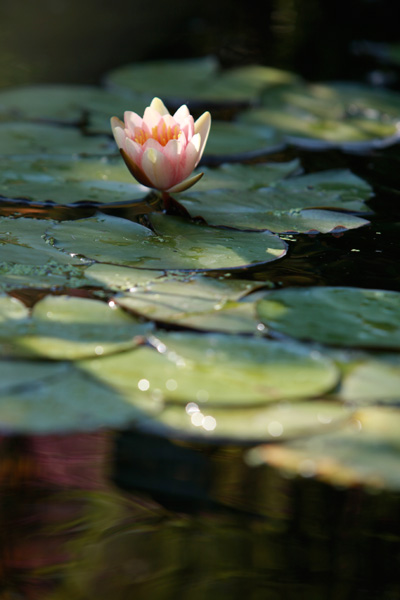
This is a shot of the Koi pond that was also instrumental in the decision to harvest water, as the client wanted natural water for the fish. This meant the water had to be tested first to make sure it would be okay for the fish and plants. Once it was determined to be okay, we had to design it so that it would fill the pond automatically. It was a great success we had 3 generations of offspring in the first 6 months. The client was thrilled they had never had more than 1 hatching in their previous ponds.
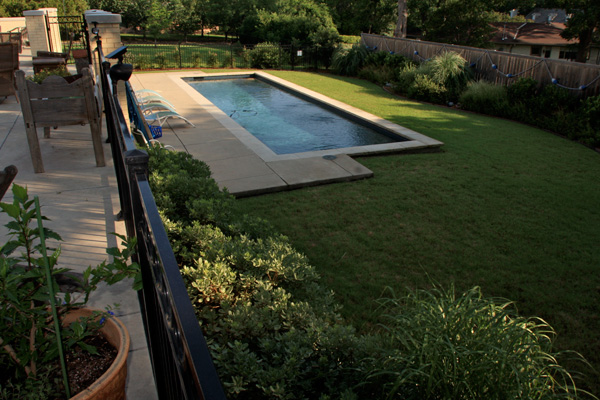
This is the finished shot of success, (look for the life guard chair). All the plants have been in the ground less than 6 months. Compared to #14, you can see how well the plants have prospered. We attribute this to the harvested water which has a neutral Ph, no chlorine or fluorides. With each 1" of rainfall we will capture 10,000 gallons water. On May 14, 2008 we had over 2" inches of rain and the tank was full and over flowing the next day. We have had a very brutal summer and drought, and the client has yet to have a water bill over $100.
The irrigation system was also designed to conserve water. We used a combination of drip, MP Rotators, and a ET System. The ET System is a weather station that tracks the local micro climate and waters each hydro-zone appropriately. One Year Later...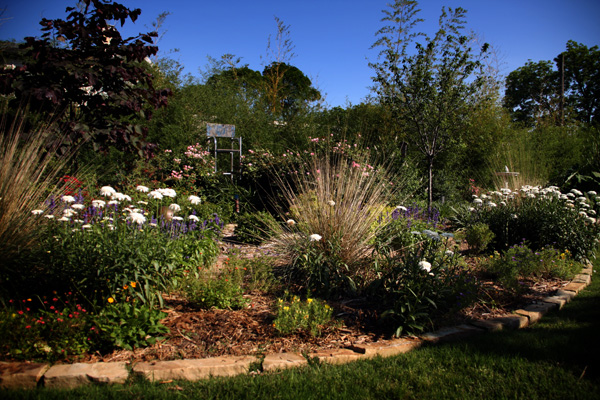
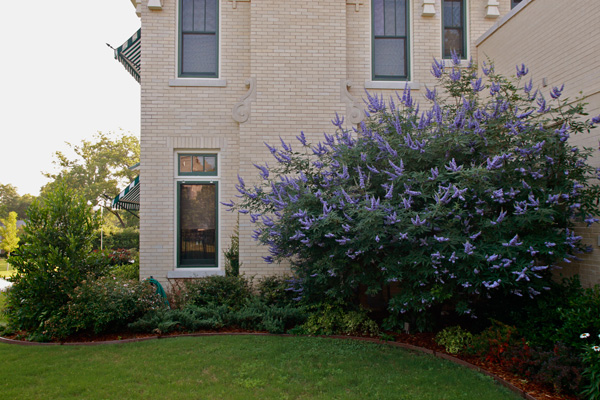
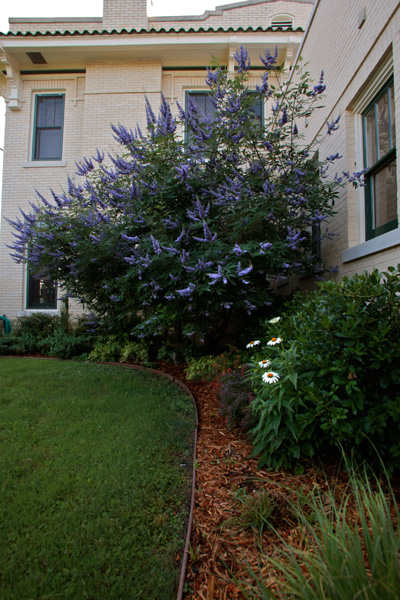
All the plants have been in the ground for about a year. Compared to #14, you can see how well the plants have prospered. We attribute this to the harvested water which has a neutral Ph, no chlorine or fluorides.
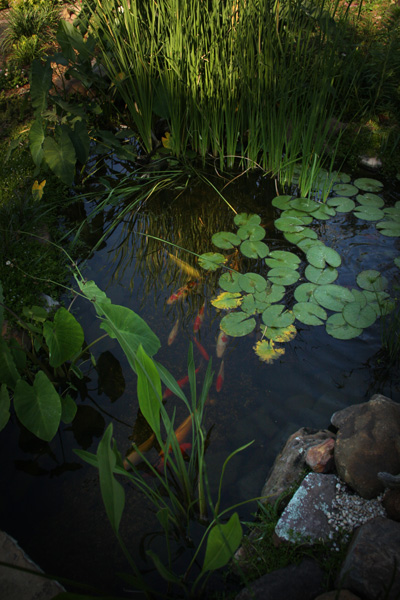
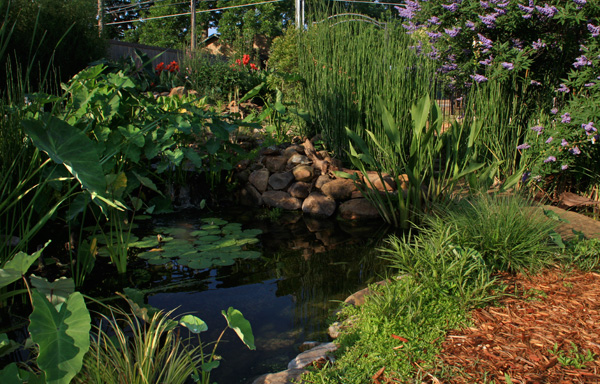
The koi pond is teaming with life.
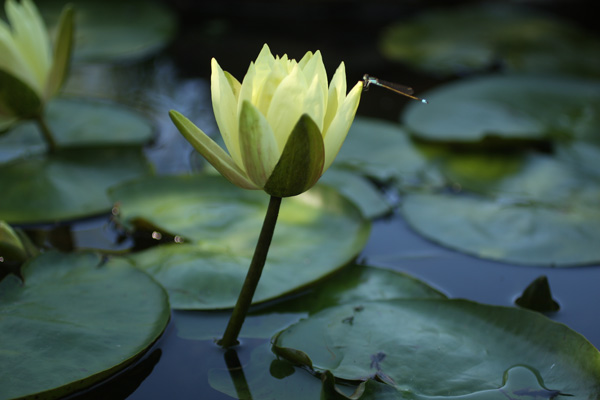
Water lilies bloom in the koi pond attracting blue damselflies and other beneficial aquatic life to the pond.
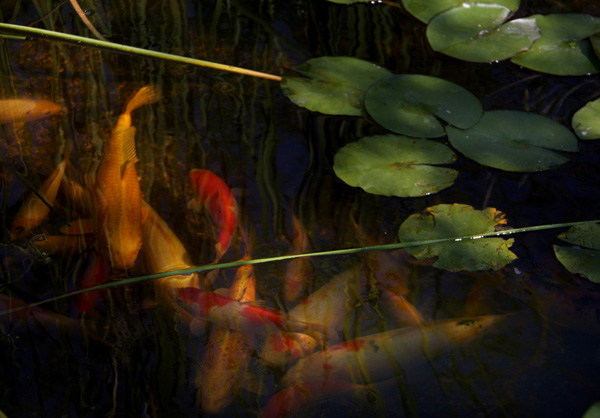
Rainwater harvested from the reservoir supplies the koi pond.
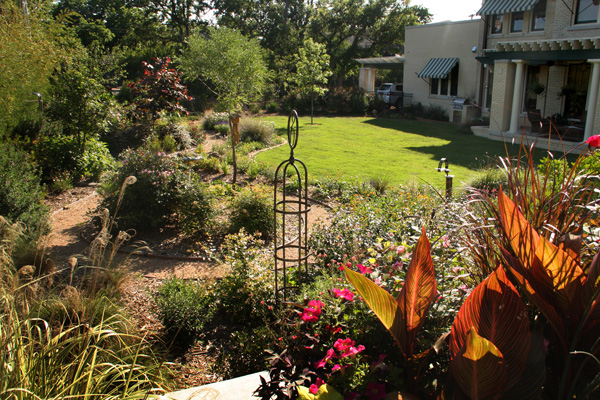
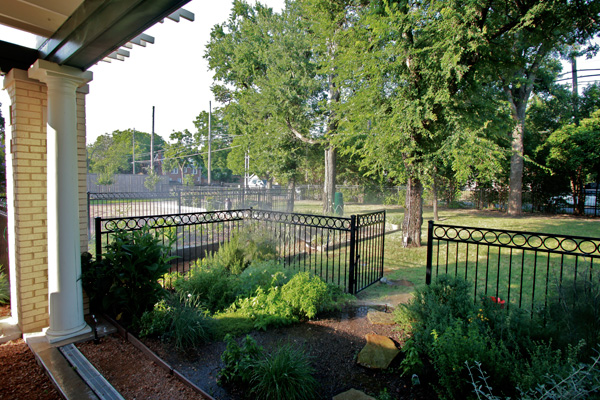
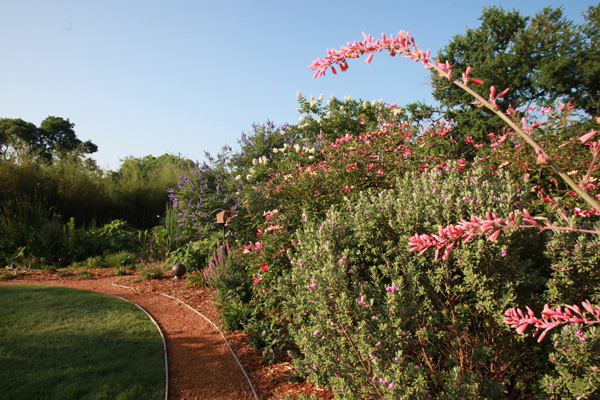
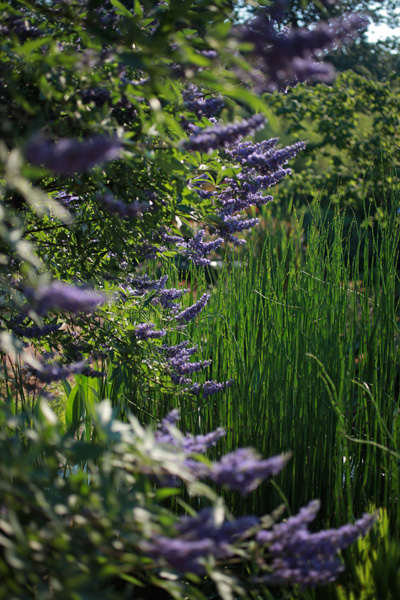
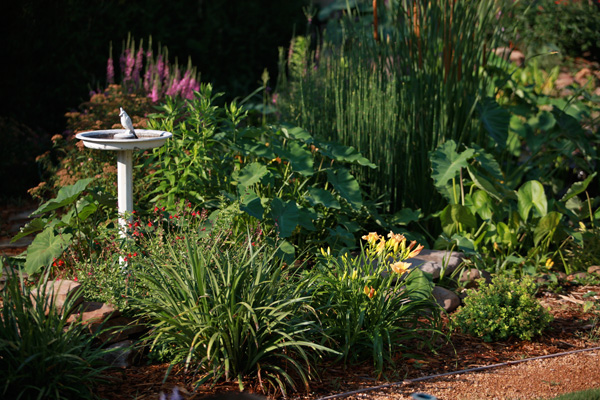
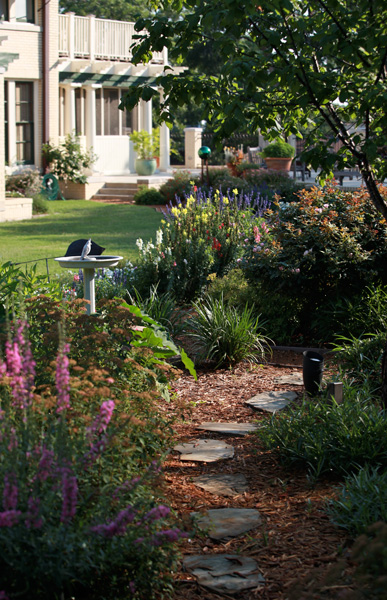
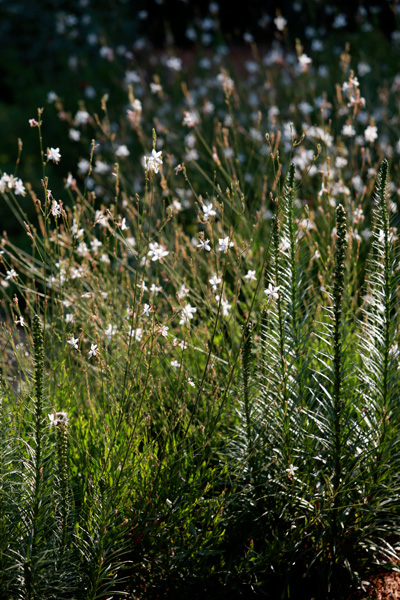
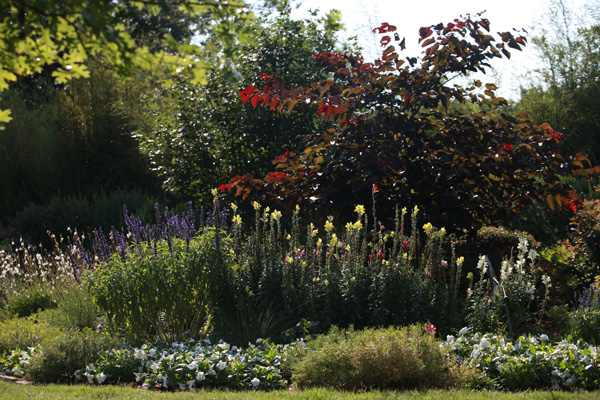
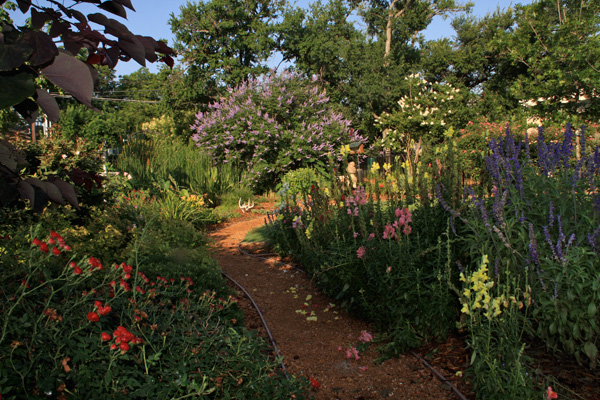
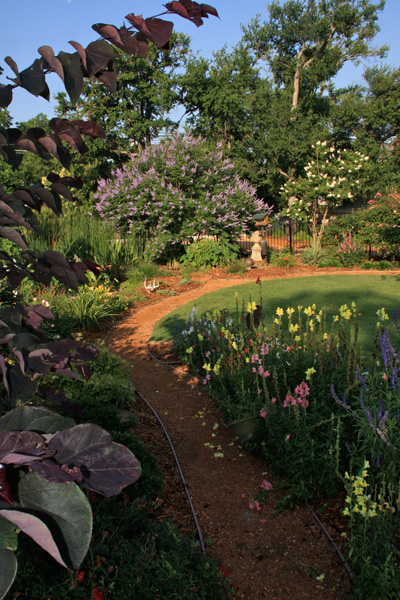
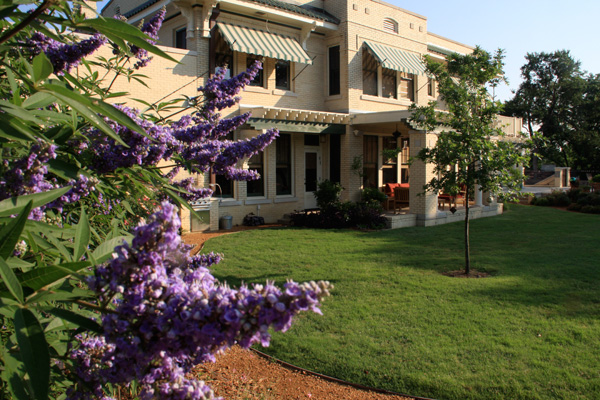
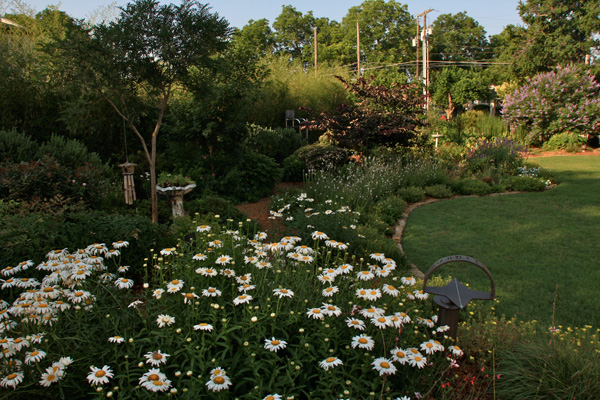
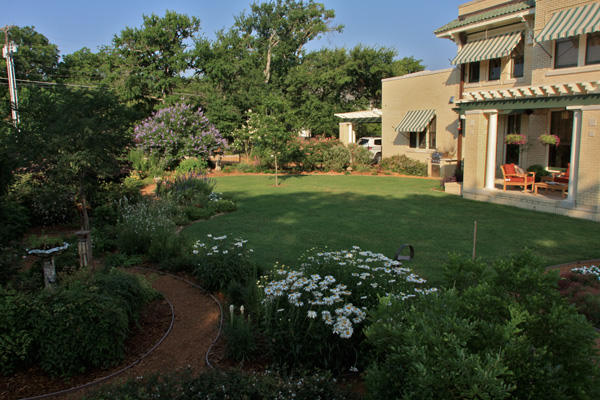
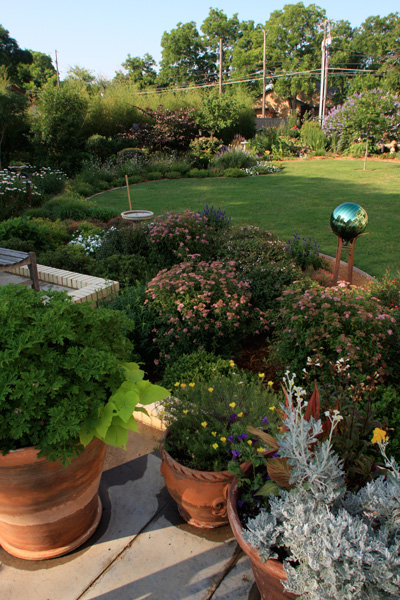
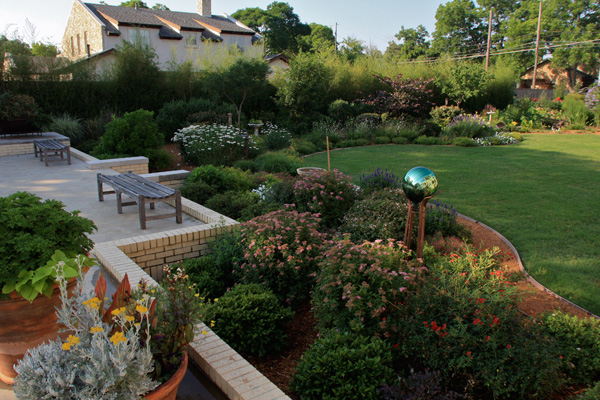
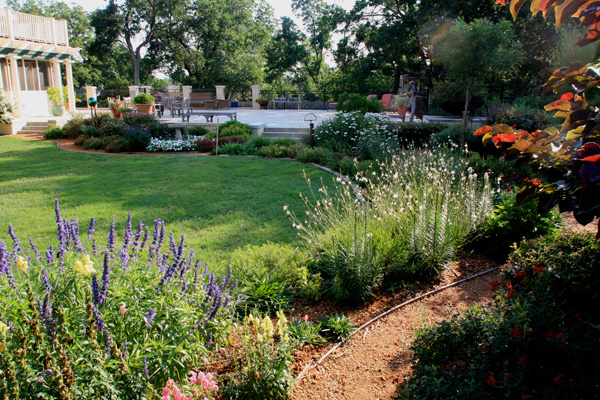
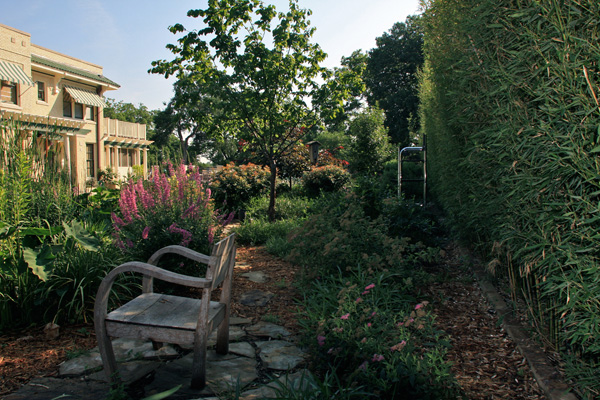
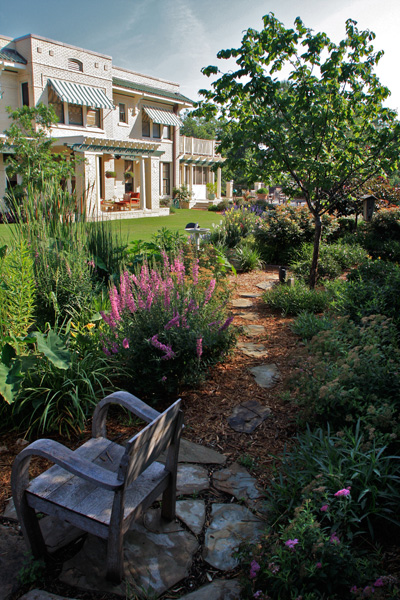
A meandering path though flowers and grasses invites you to explore the back yard.
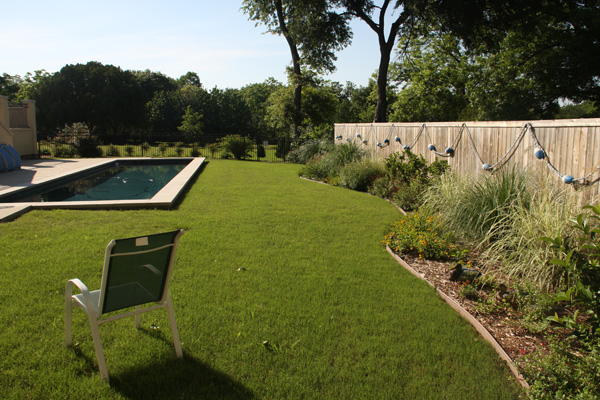
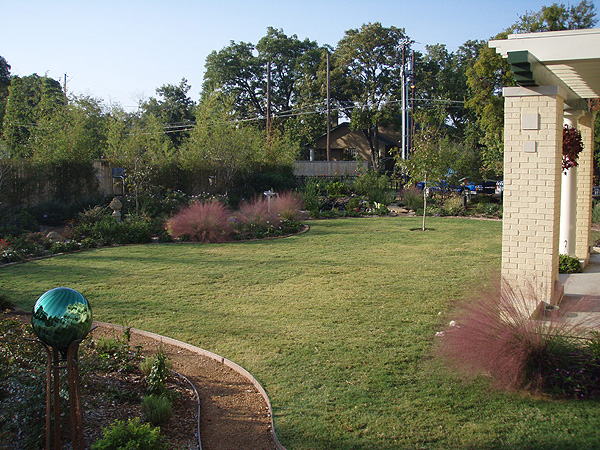
An open area surrounding the pool creates a relaxing view across the lawn.
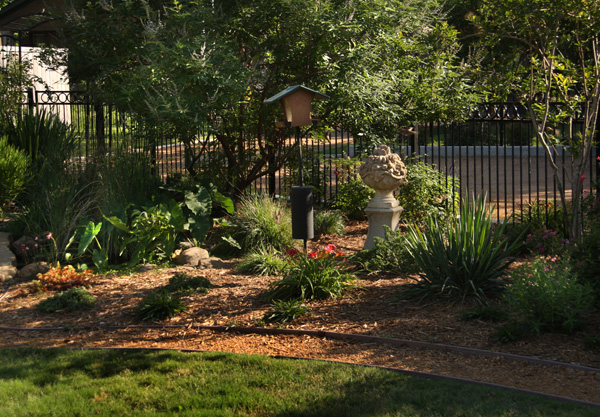
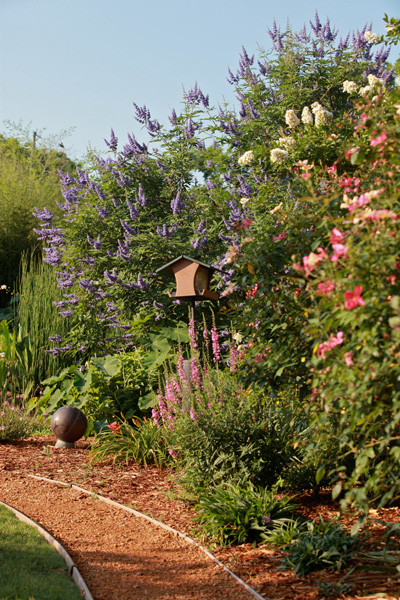
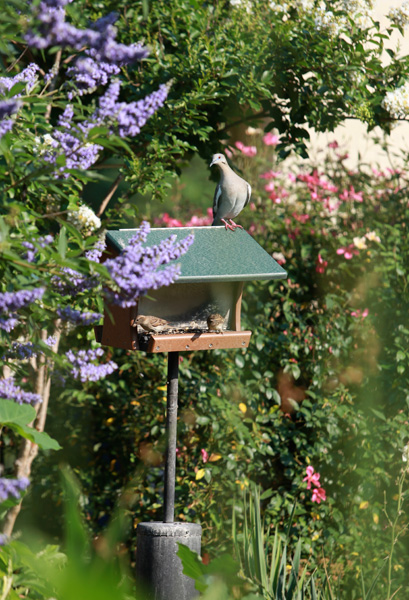
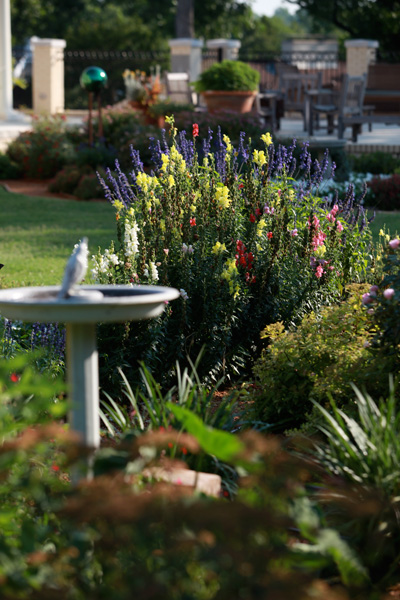
Birdfeeders are a good way to attract birds to your backyard and look great when placed into the flowerbeds.
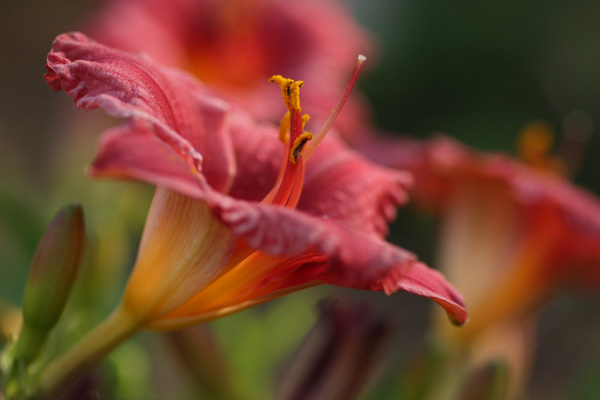
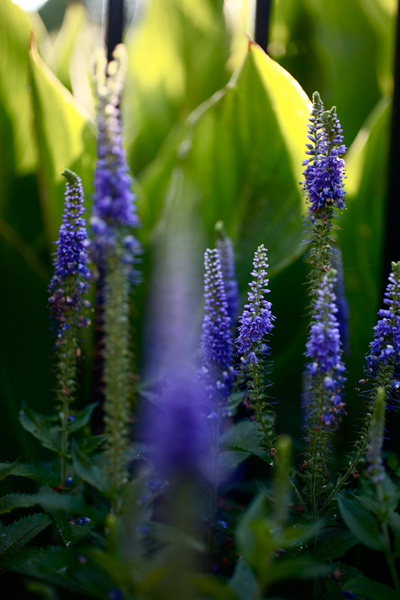
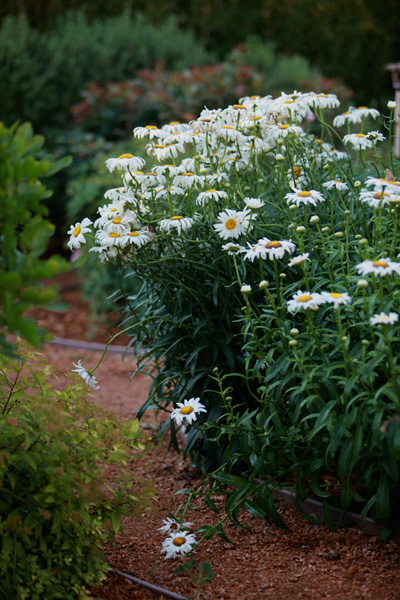
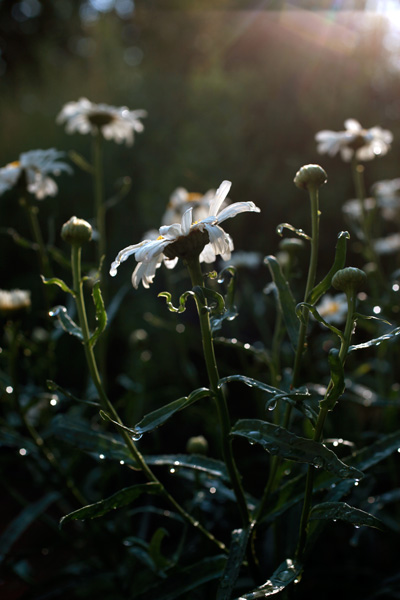
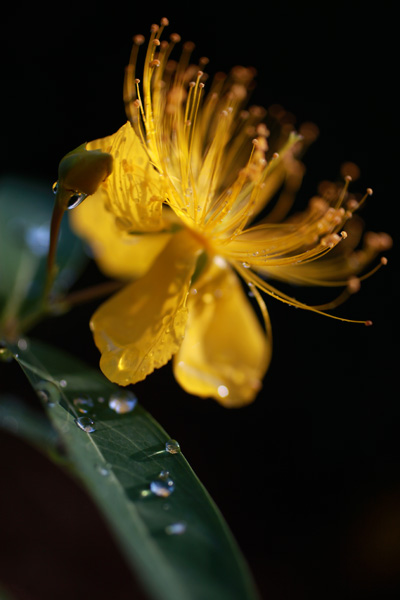
Daylilies offer a splash of color to the landscape.
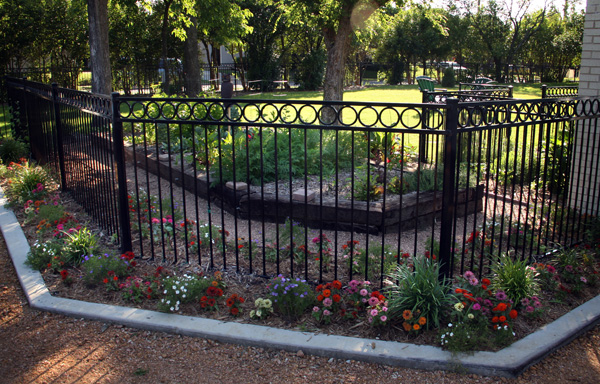
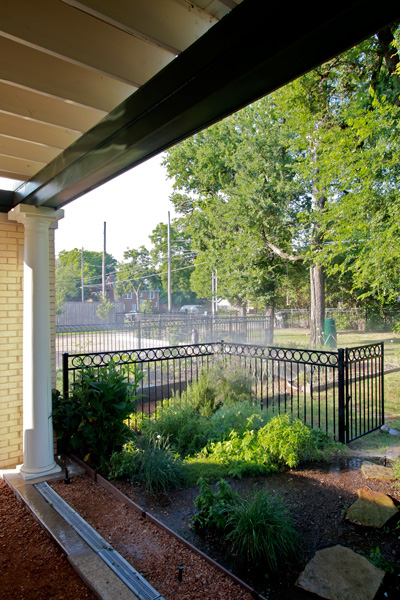
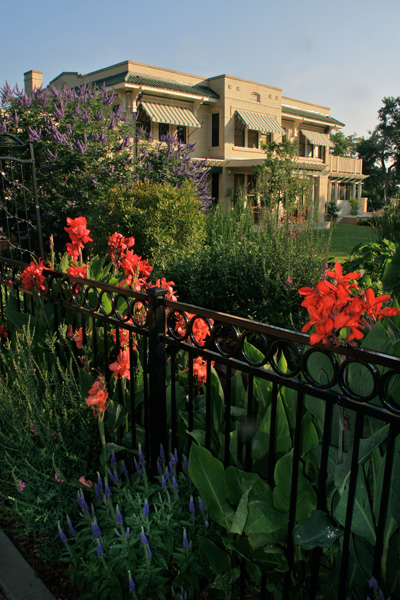
Flowerbeds caress the base of a wrought iron fence and create a beautiful boundary area in the landscape.
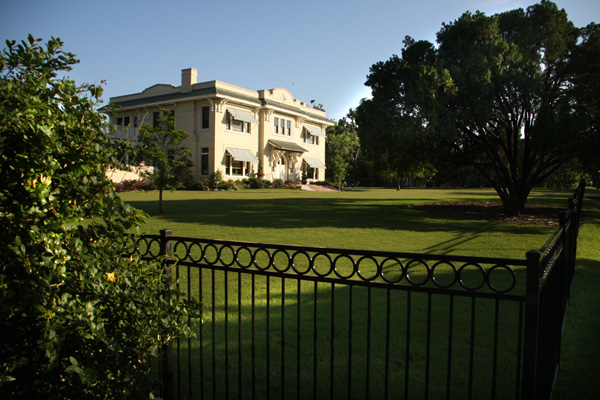
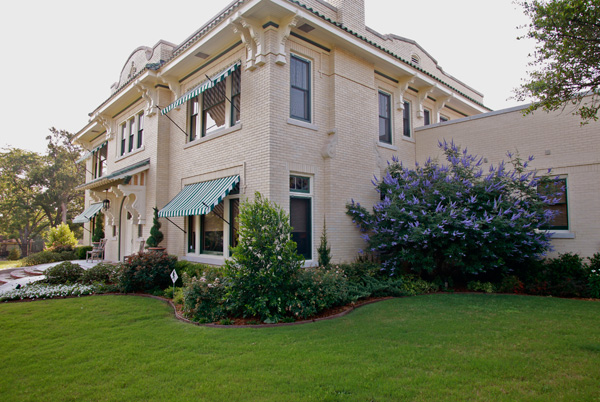
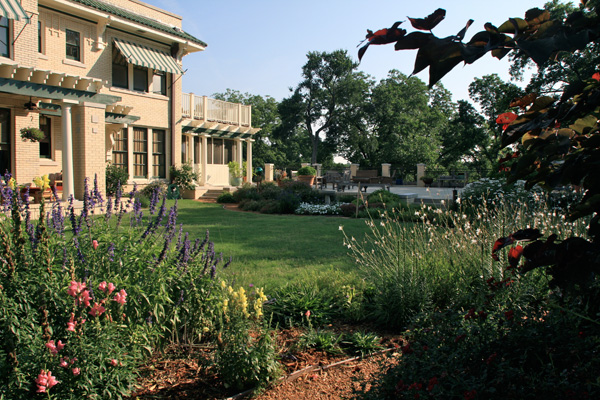
The front lawn is lush and green, indicating the great health benefits gained in an organic lawn maintenance program.
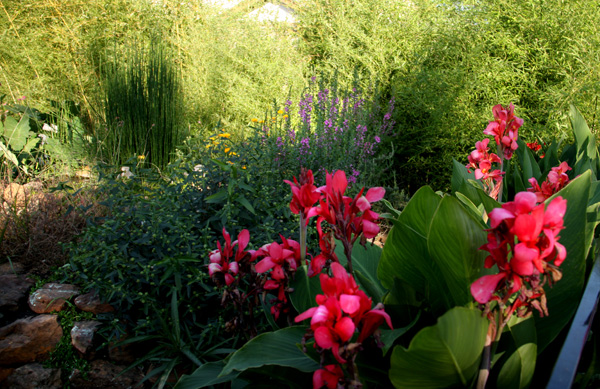
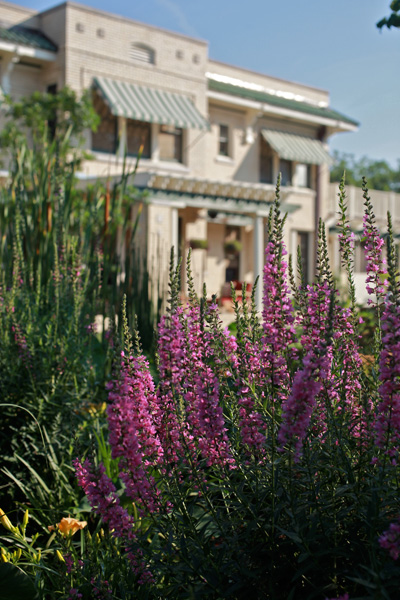
Red cannas and tall grasses work together to create unique textures in a dramatic landscape.
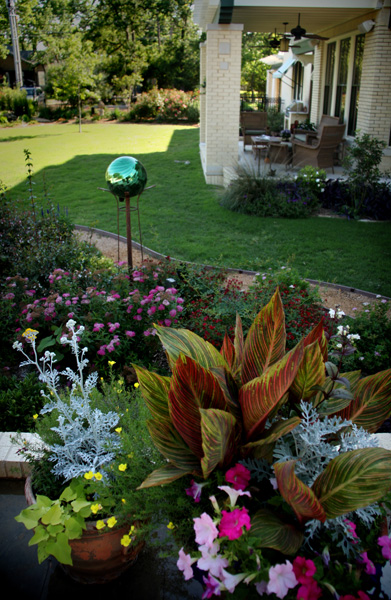
A gazing ball and tropicana cannas create a relaxing backyard scene.
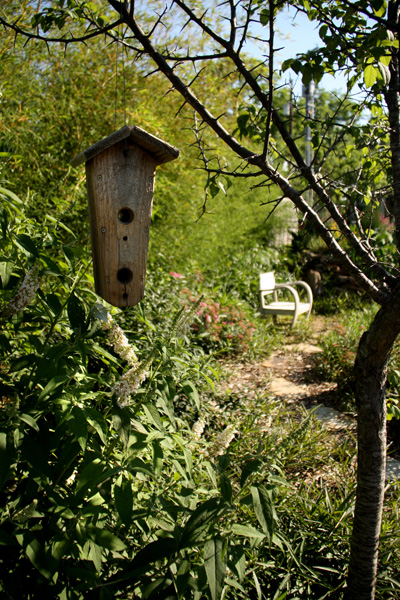
Birdhouses are another great way to attract birds to your yard.
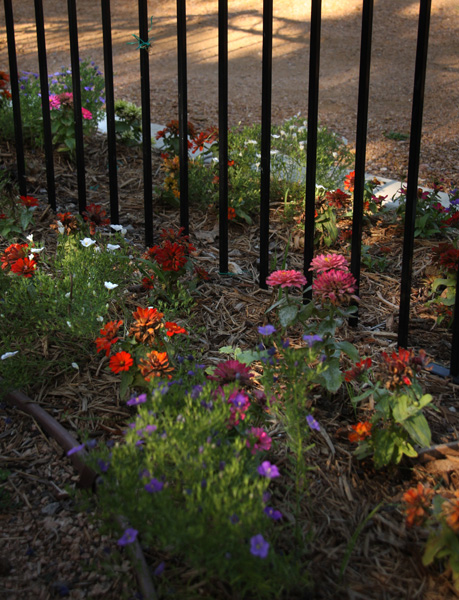
A bed of flowers near the base of a wrought iron fence survive the heat and drought by having a layer of organic mulch applied underneath them. The mulch also helps cut down on weeds, which reduces maintenance.
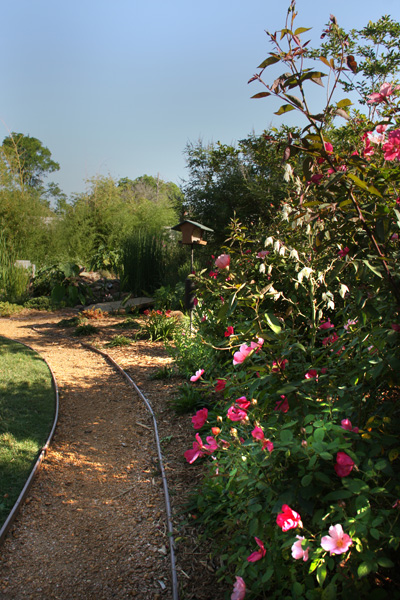
The use of curved paths invite you to explore the landscape.
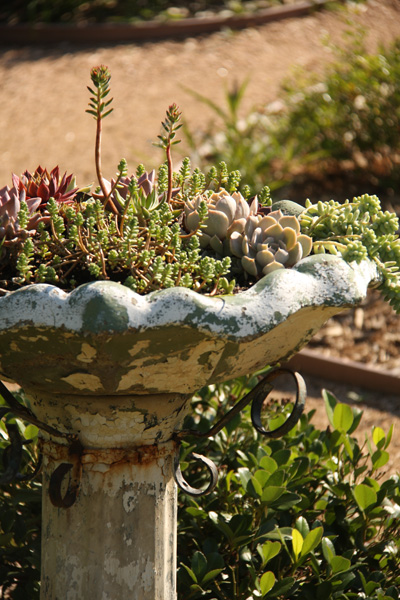
An old bird bath easily converts into a planter with drought tolerant succulents.
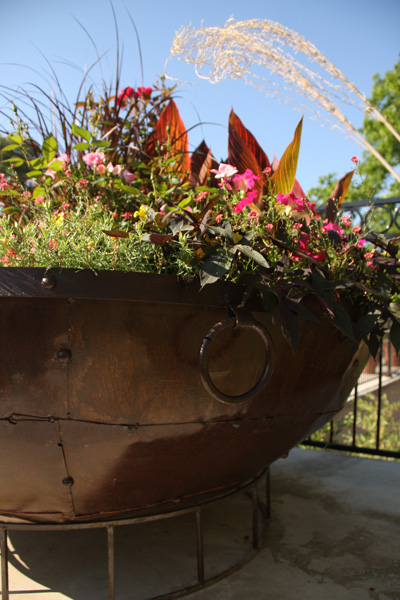
Copper planters with assorted plant arrangements make beautiful focal points in the garden.
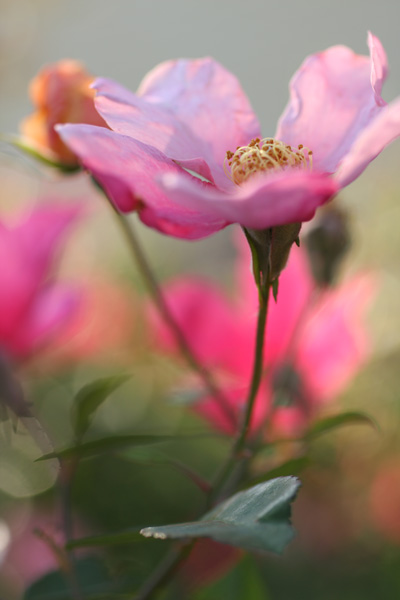
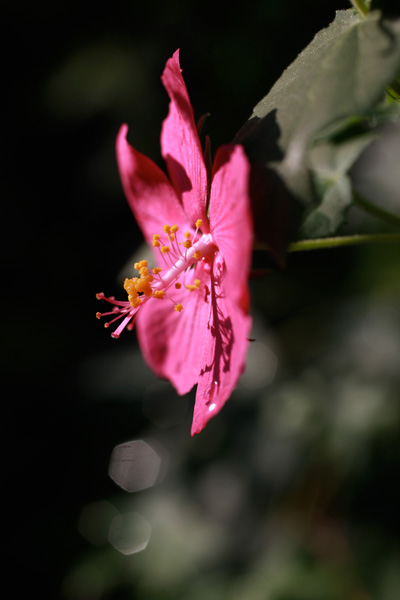
Roses in the garden.
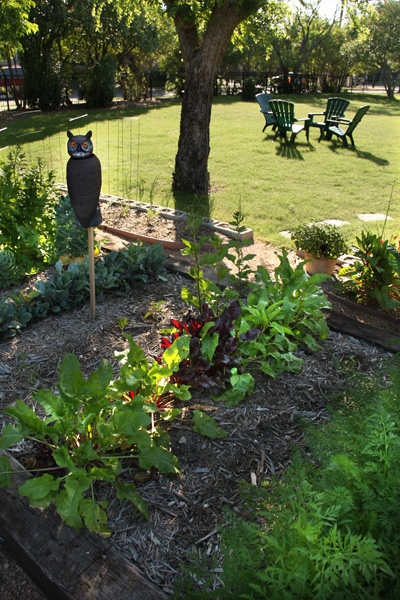
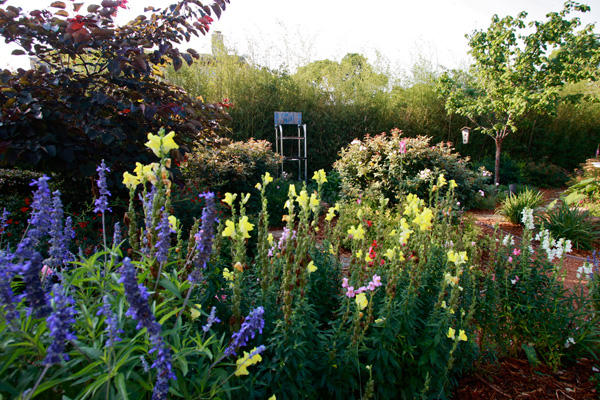
An area set aside for a vegetable garden can provide fresh, great tasting vegetables and help reduce food costs.
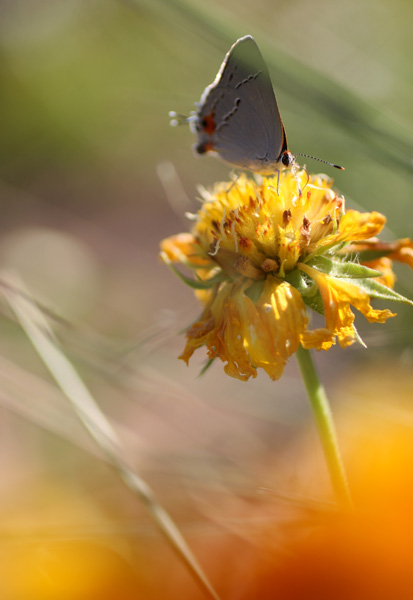
A Purple Hairstreak butterfly drinks nectar from one of the flowers in the garden.
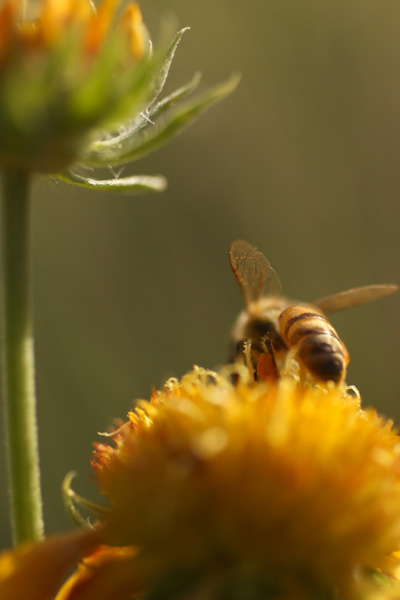
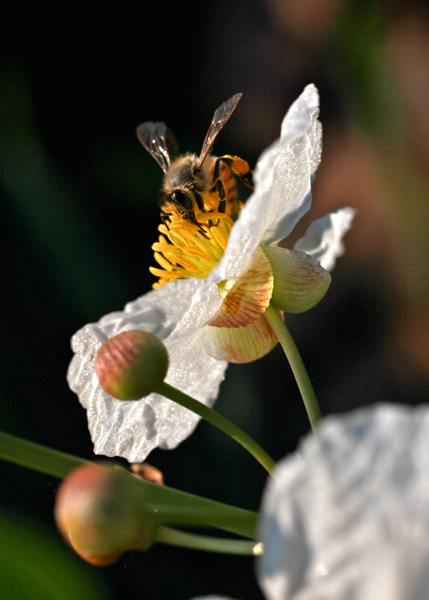
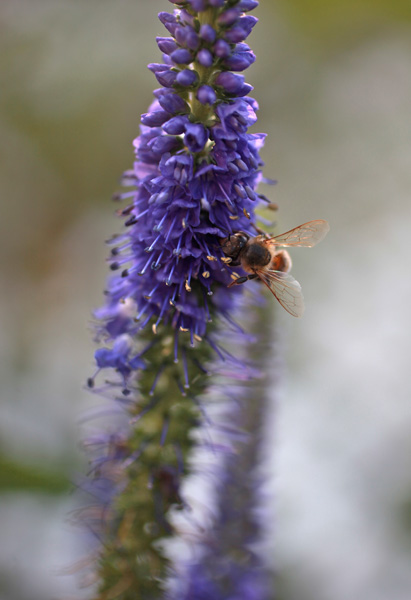
Honey bees and other beneficial insects are attracted to the flowers.
Two Years Later...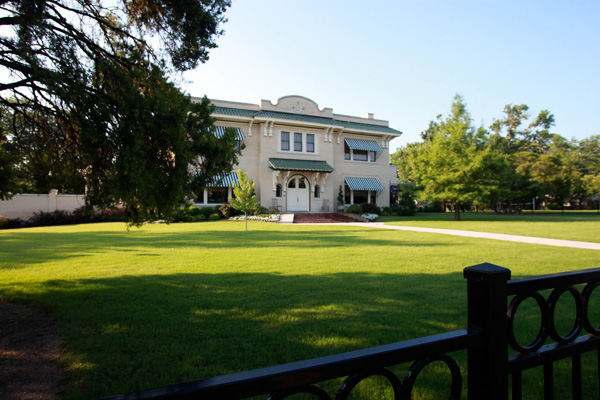


Click images above to view the project |
|
|

|
||
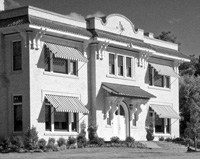
 On my first inspection, I noted an elaborate drain system and thought, "Let's not tear out that pool and send the debris to the landfill. Let's modify the drain system to funnel rain water into it - a ready-made 45,000 gallon cistern." My client really liked that idea. And so did Preservation Dallas. And, with the gymnasium torn down, its concrete pad became a major rainwater collection site. Someday we may erect a small greenhouse on part of that pad.